Creating a website to show pictures from Curiosity Mars Rover using NASA's API


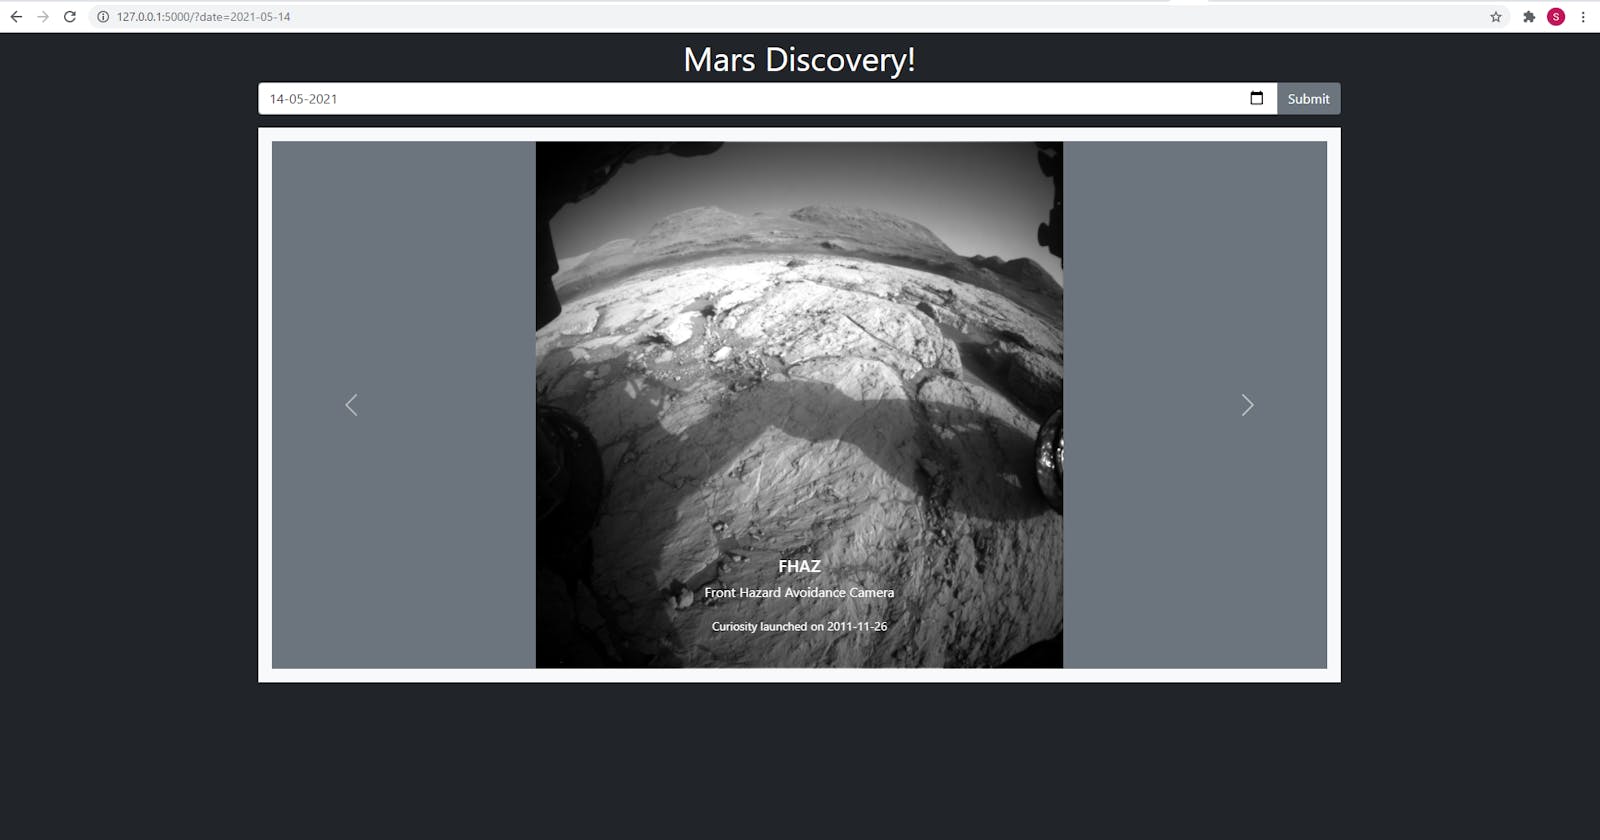
In this blogpost, we shall look at how to create a simple single page Flask website that uses NASA’s ‘Mars Rover Photos’ to display all the images captured by the various cameras mounted on the Curiosity Rover. It will look a little like this.
Pre-requisites:
- A computer with an internet connection
- Python3 installed
- Basic knowledge of Python
Python Modules:
Front End: Bootstrap 5 getbootstrap.com
More information on the API: api.nasa.gov
More Related projects: youngwonks.com/blog/How-to-create-a-GIF-of-..
Concepts:
- API – Application programming interface
- API key – Authorization key to get data from and API
- API Request – A call made to the API
- Response – Data received as a response to the request
Download Flask cheat sheet at: youngwonks.com/flask-cheatsheet.pdf
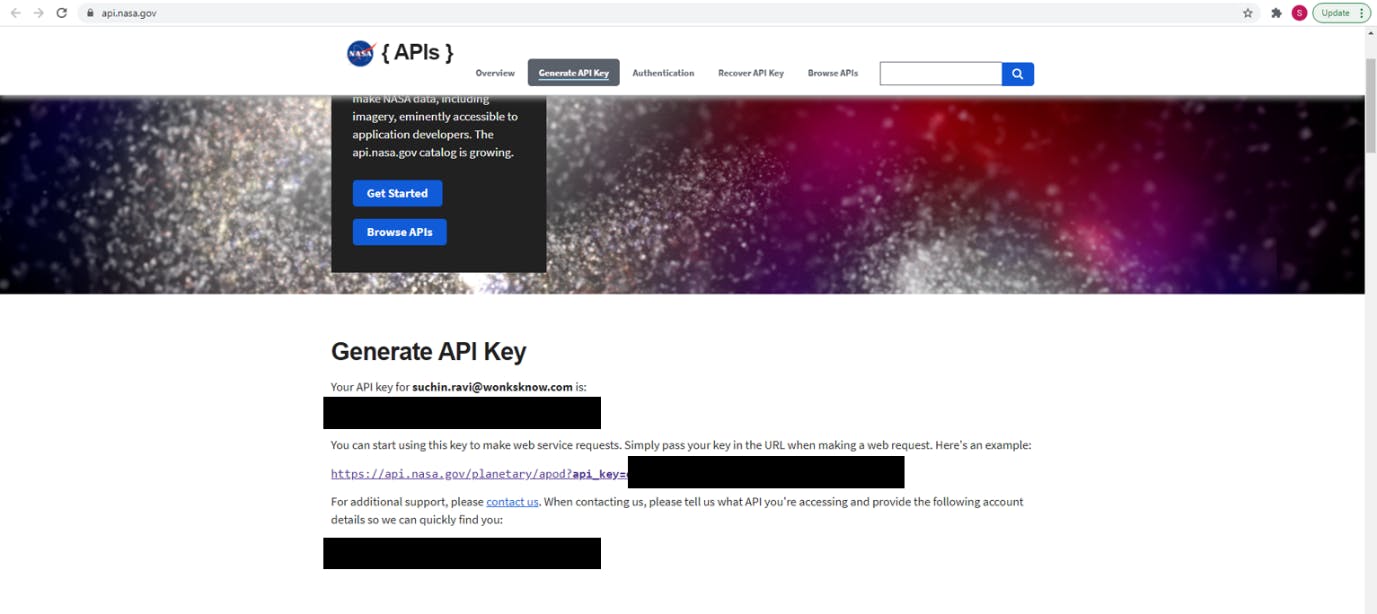
STEP 1: Signing up for the API key
- Sign up for the API Key at api.nasa.gov.
- Save the key to somewhere safe. We will use it in the next step.
STEP 2: Setting up the project
- Create a new folder.
- *Create a virtual environment and activate it (recommended but not mandatory).
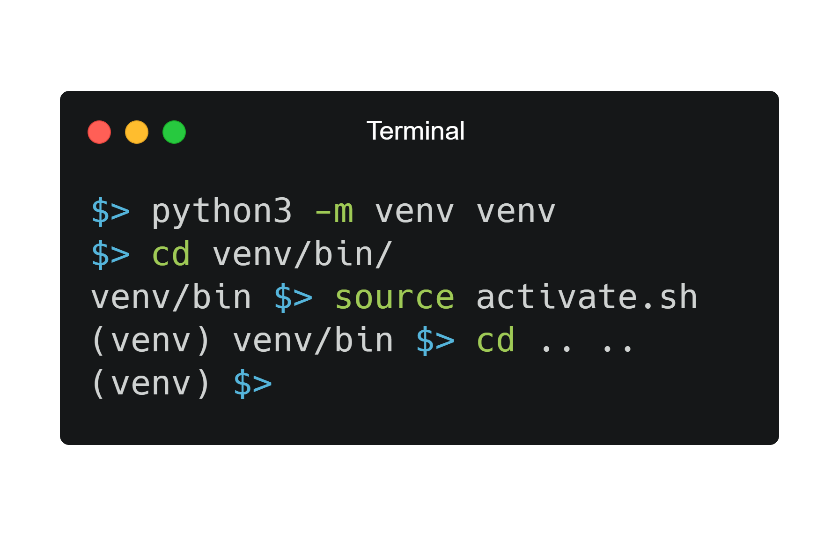
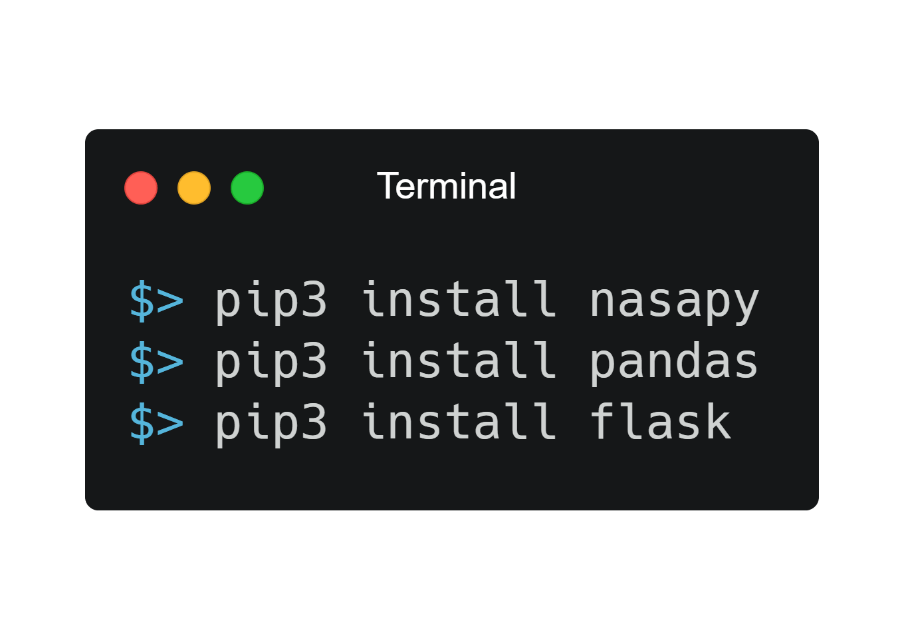
- Install the Python dependencies.
STEP 3: Testing the API#
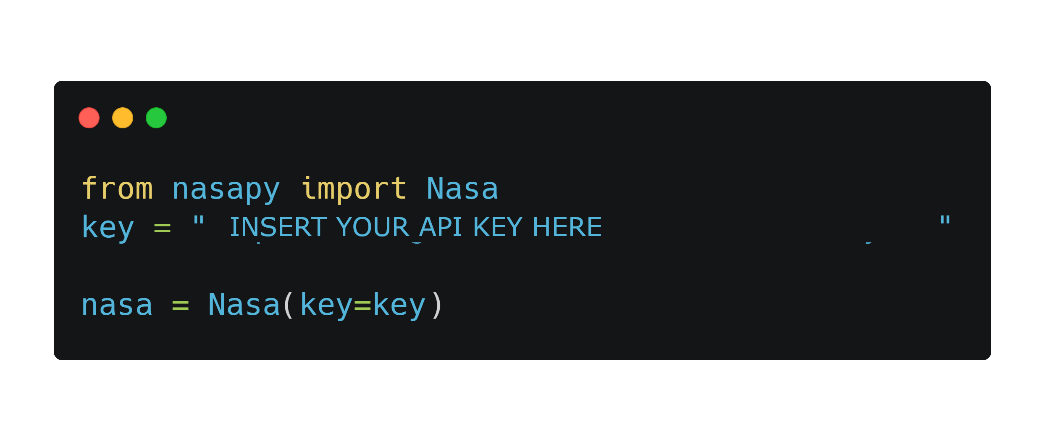
- Create a new file named api_test.py
- In this file, import and initialize the library.
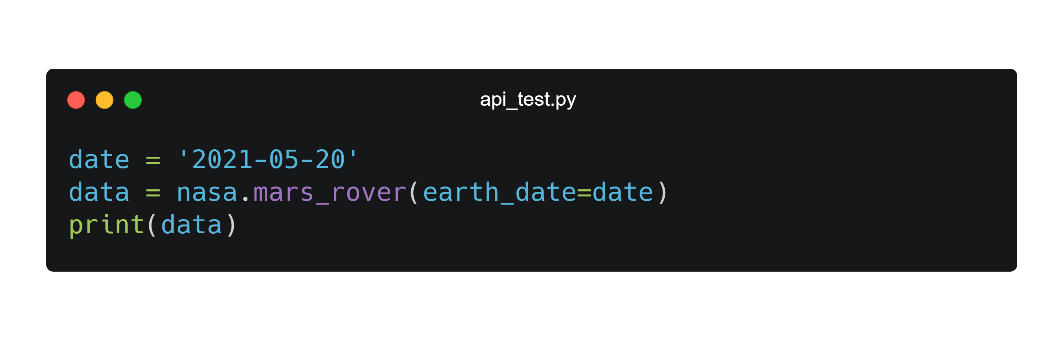
- Fetch the Mars Rover date for a specific Earth date.
- This displays the response in the form of a list of dictionaries in the format.
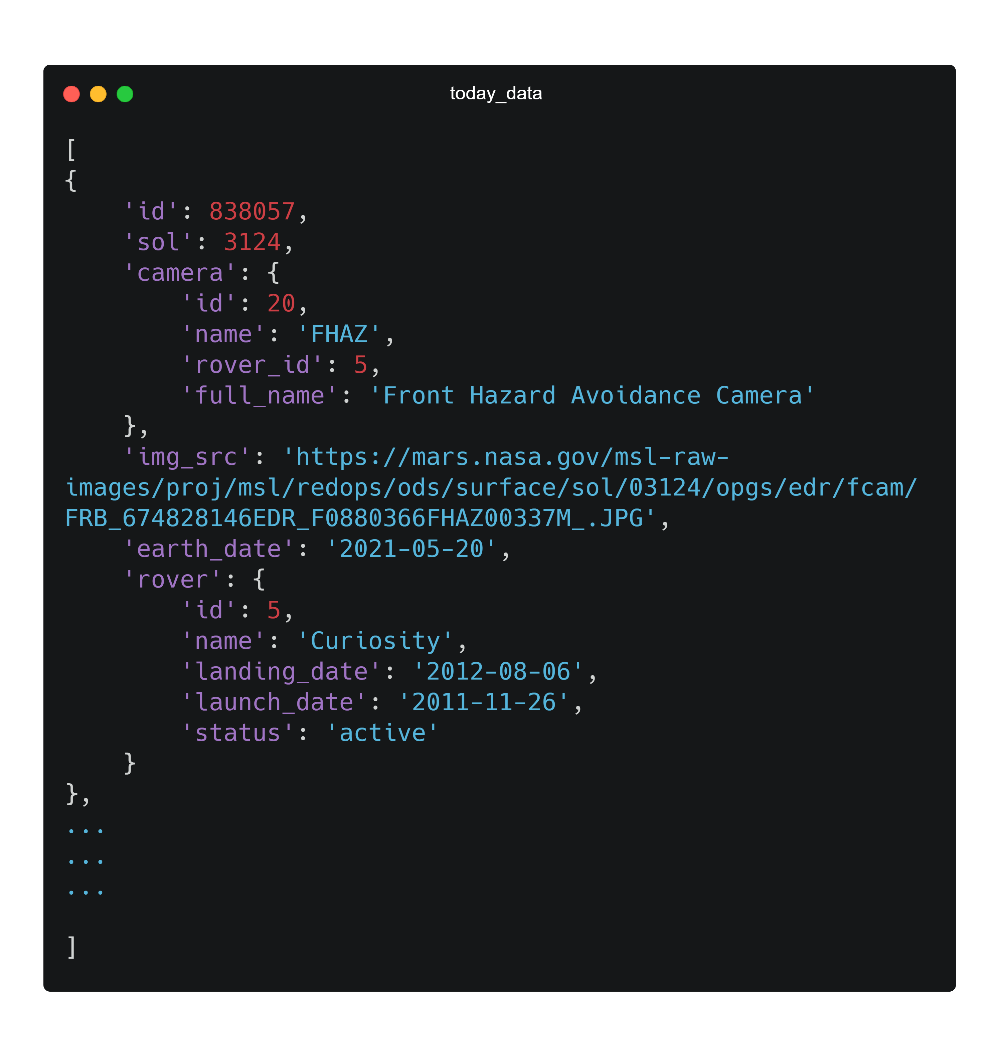
- We are mainly interested in the values of 5 keys for our website: a. Camera Name: camera.name b. Camera Full Name: camera.full_name c. Image Source: img_src d. Rover Name: rover.name e. Launch Date: rover.launch_date
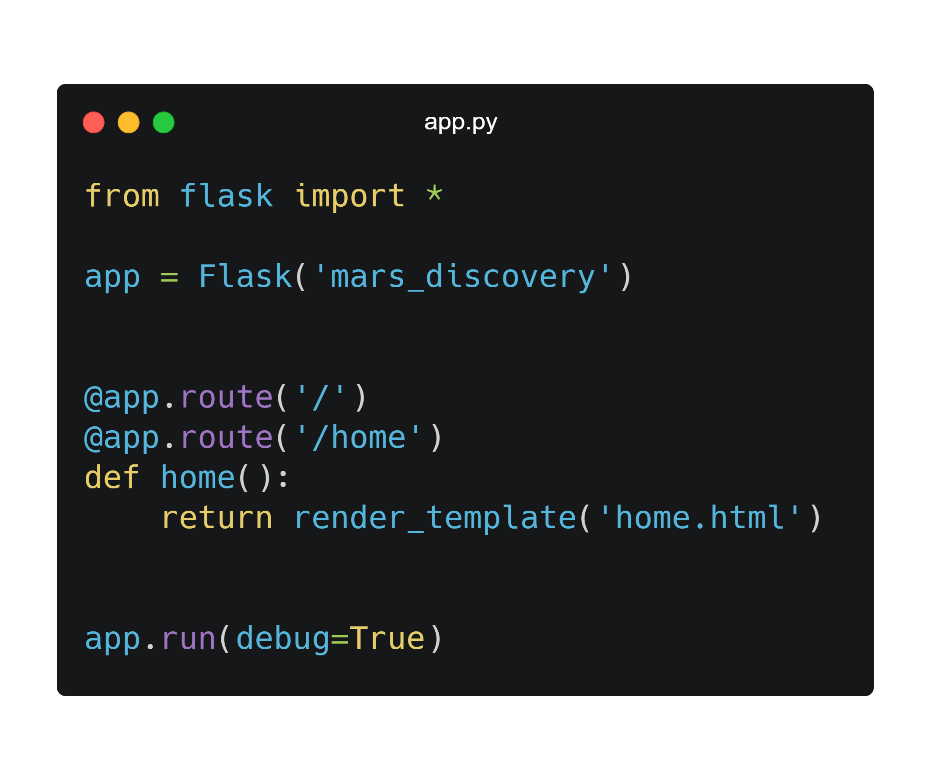
STEP 4: Creating the Flask app
- Create a new file name app.py.
- Import Flask and initialize the app.
- Add the home route that renders the home.html file.
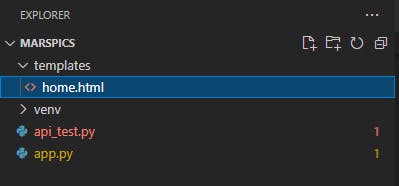
- Create a folder called templates.
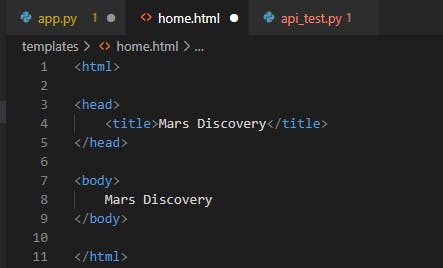
- Create a file named home.html which just displays some text.
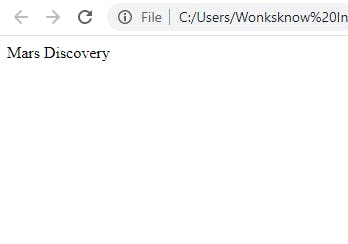
- Now run the app, python3 app.py. The result will look something like this:
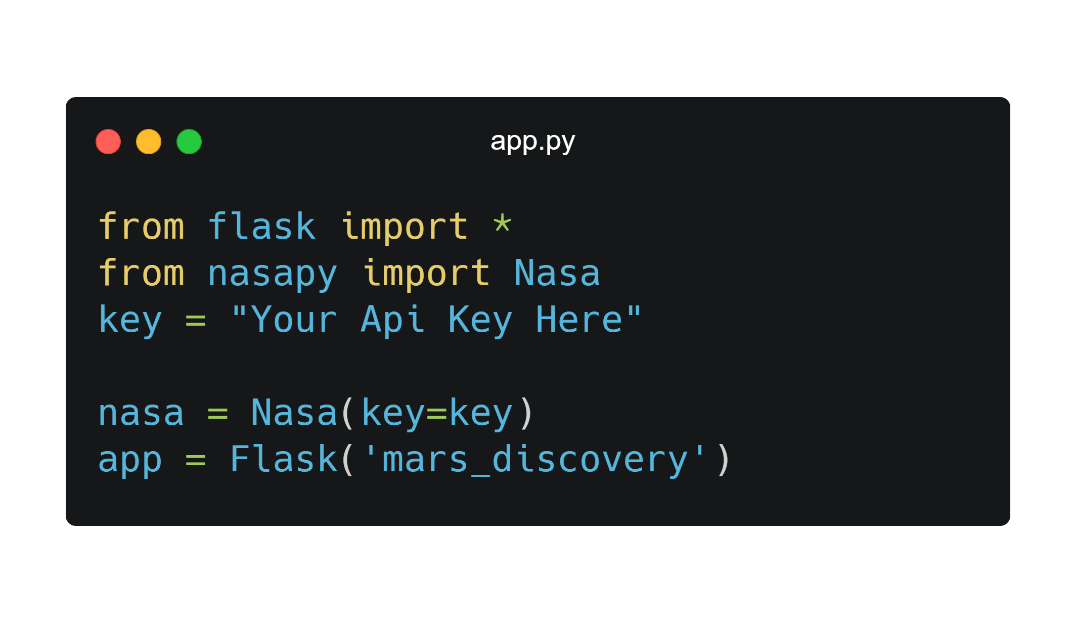
STEP 5: Adding the nasapy module to app.py and send the text to the home.html page
Before creating the app, import nasapy and initialize it using your API key.
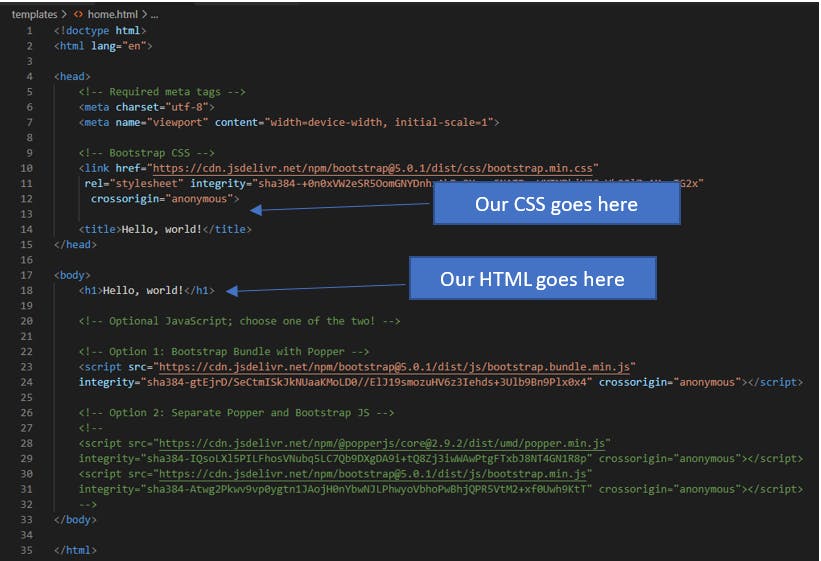
STEP 6: Using Bootstrap to create a cool looking page
- Replace the contents of home.html with the bootstrap5 starter template provided at getbootstrap.com/docs/5.0/getting-started/i...
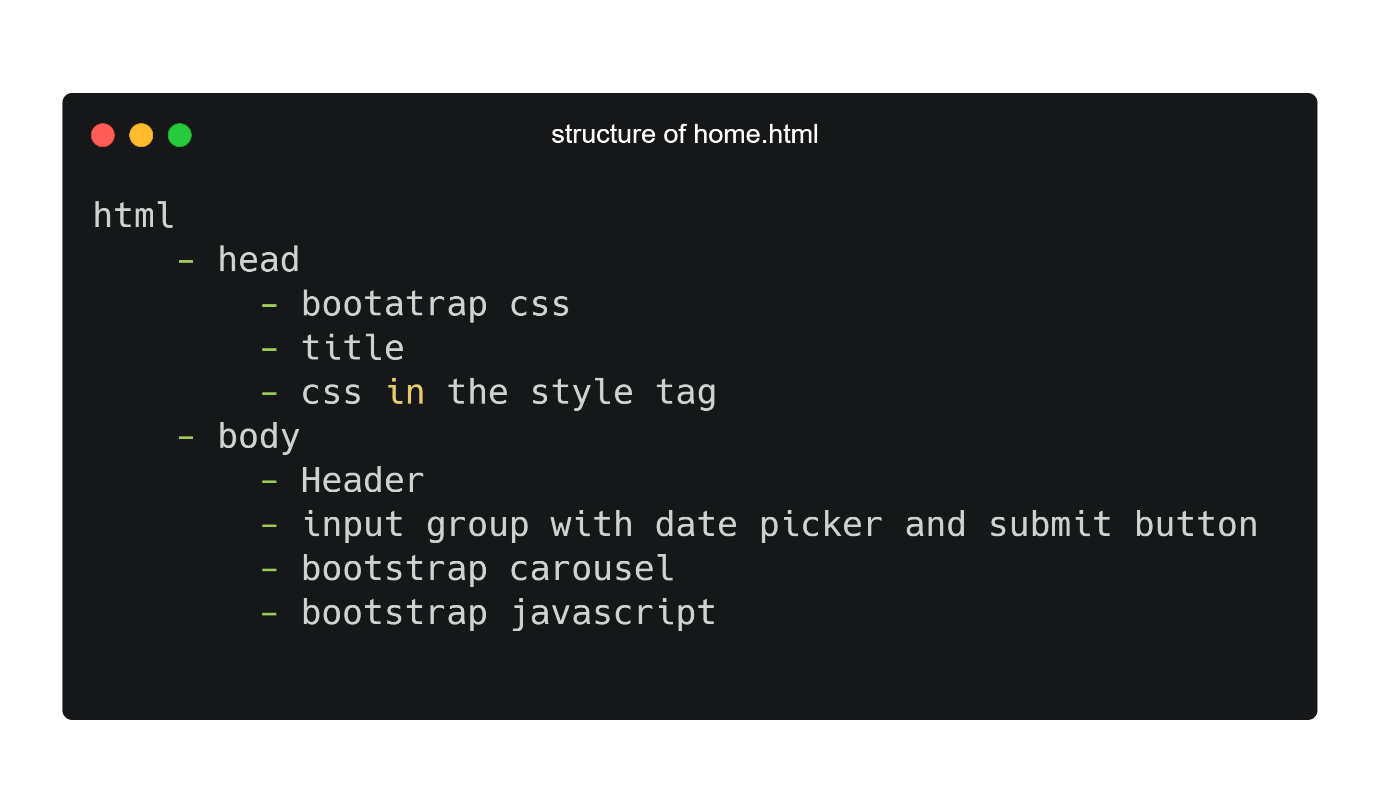
STEP 7: Developing the front end as you please
Use the documentation in bootstrap to create your desired page. For the purpose of the tutorial, we are going to keep it simple. We have the following elements:
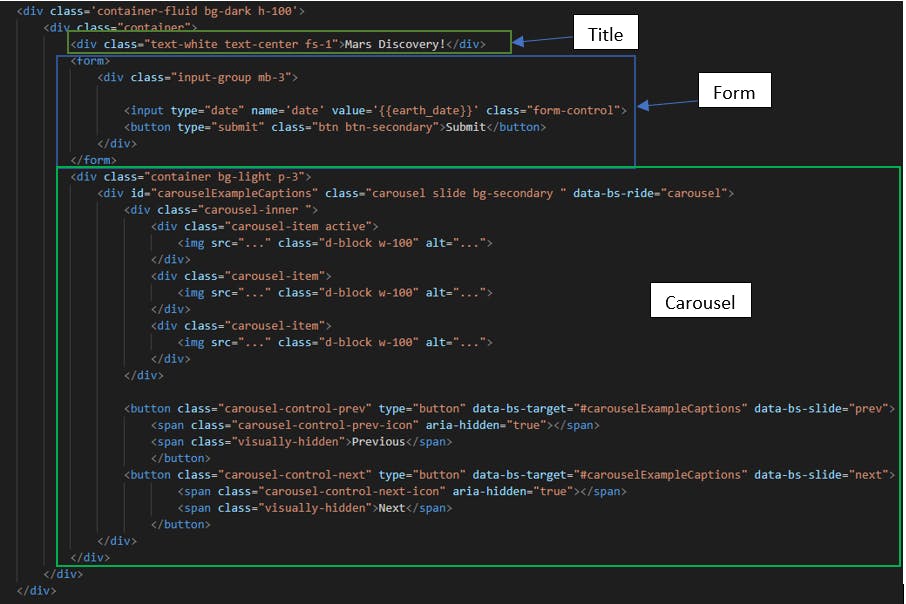
You can find the carousel sample at: getbootstrap.com/docs/5.0/components/carousel.
You can find the form group sample at: getbootstrap.com/docs/5.0/forms/input-group.
STEP 8: Getting the data in the Flask app and sending it to the html page to be rendered
- Use the code from STEP 3 and add it to the home route. Look for the parameter ‘date’ in the request arguments and use that for the date.
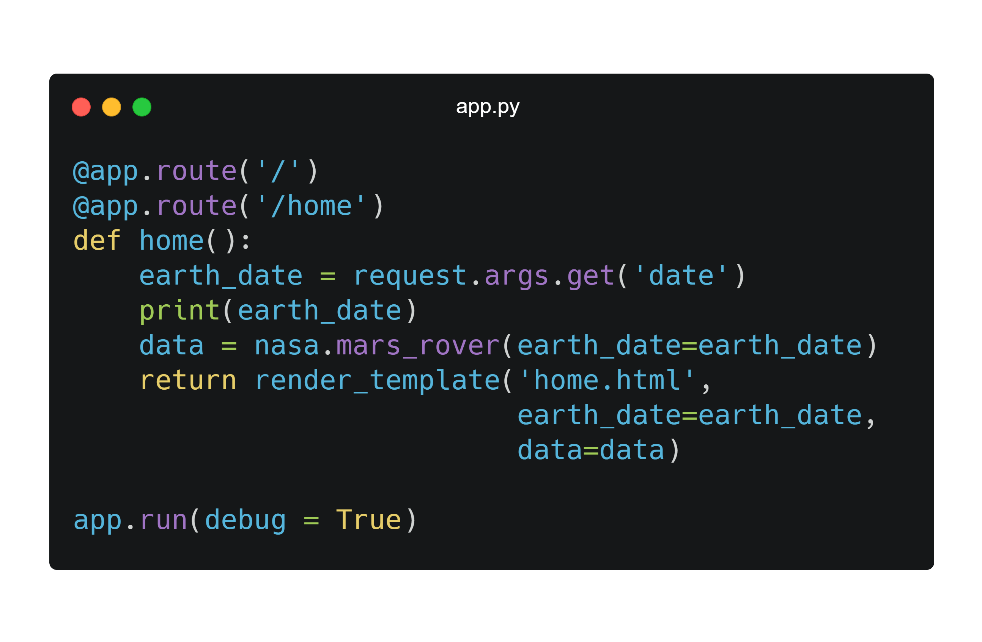
- Add the code to app.py. Setting the debug parameter to true will auto-reload the server when any code change is made. **You should remove this if you publish the website.
STEP 9 (Final Step): Using Jinja2 to render the data on the html page
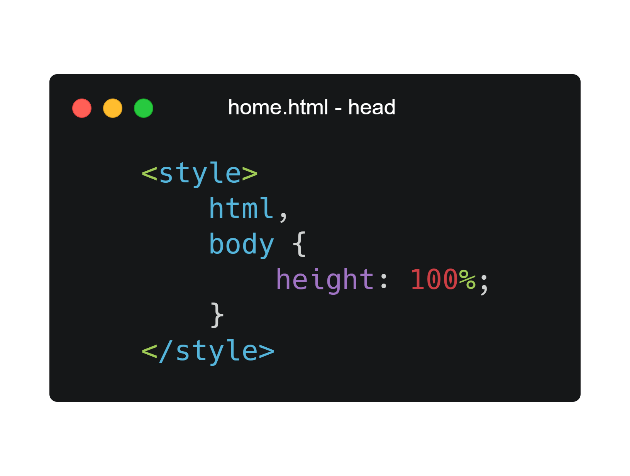
- Add the CSS styles to stretch the page to fit the vertical height.
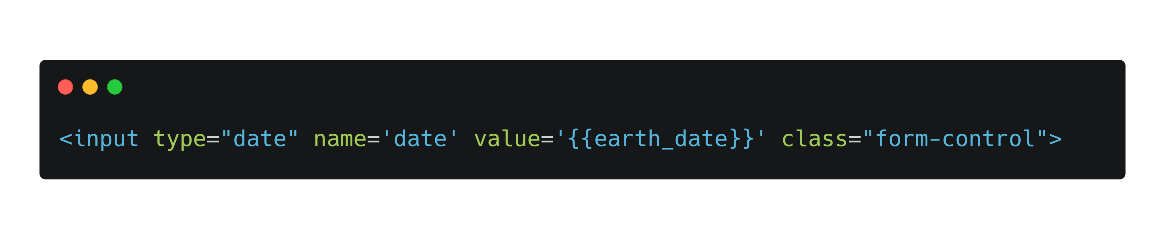
- Add the date as the value of the input date element.
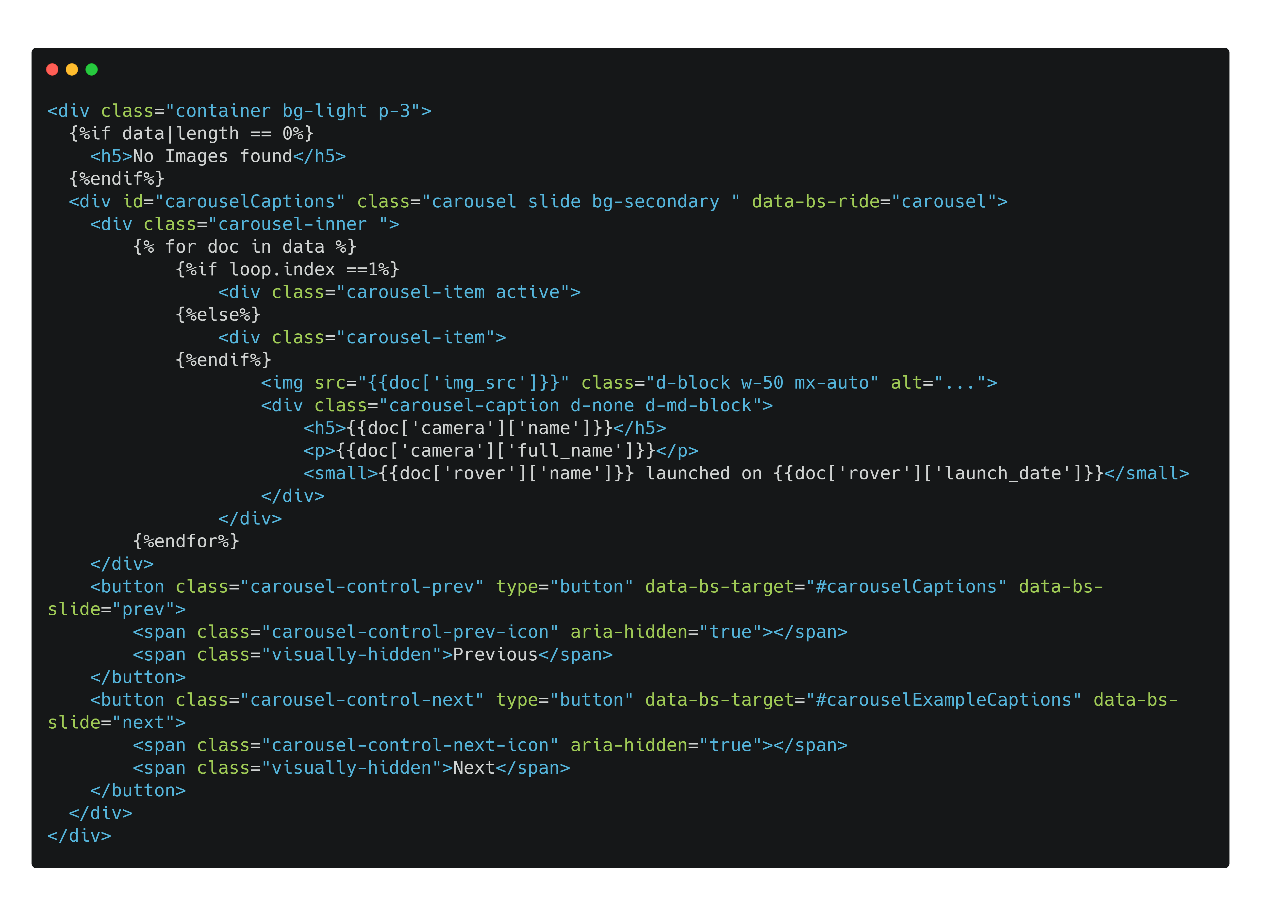
Retain only one carousel item and delete the remaining. We are going to render the carousel items using a for loop.
Add the image, camera name, full name and other parameters to the carousel.
Also add a condition to display a message in case no images are found for the date.
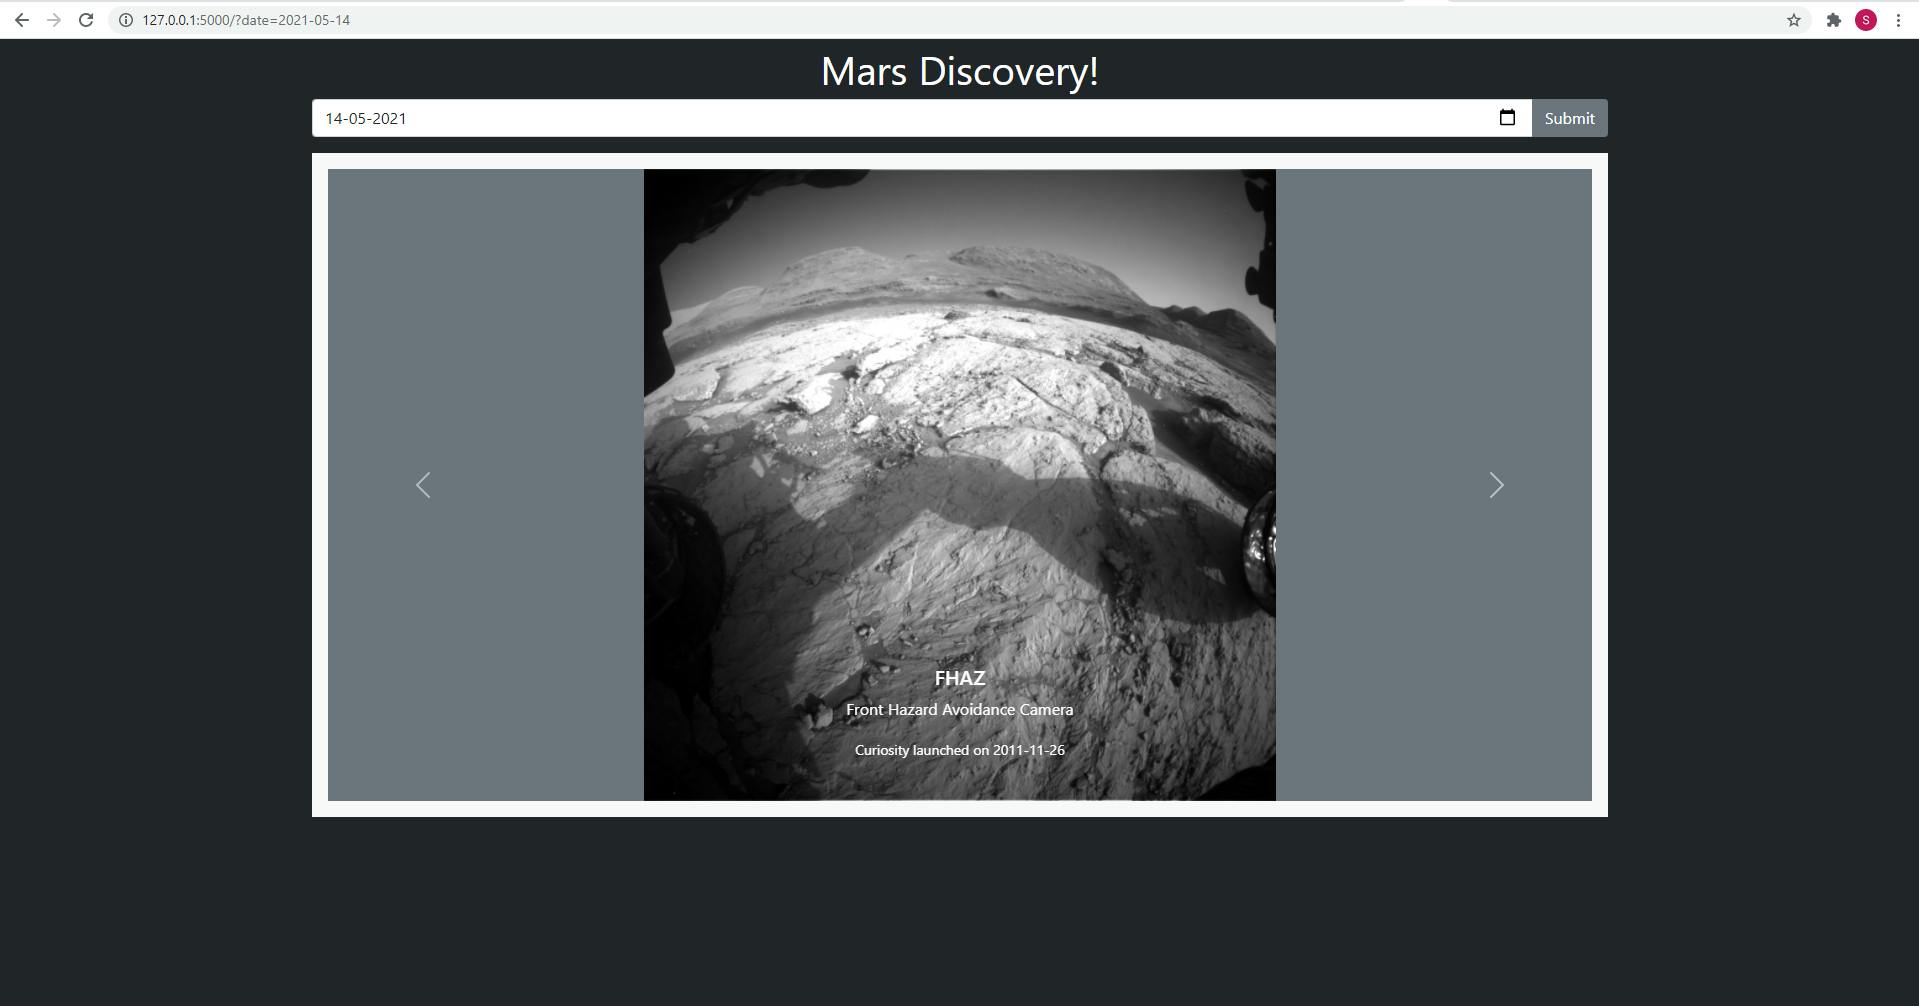
Voila! Now you can run the program and visit the URL http://127.0.01:5000 to view the final website.
This article has been written by Suchin Ravi. Suchin is an experienced educator and technologist. Suchin teaches computer science at YoungWonks youngwonks.com and works as a lead software developer on many projects at Wonksknow wonksknow.com.